I am the queen of procrastination when it comes to DIY projects and I have proof.
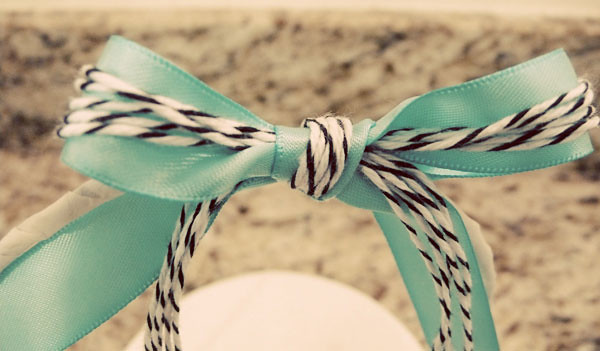
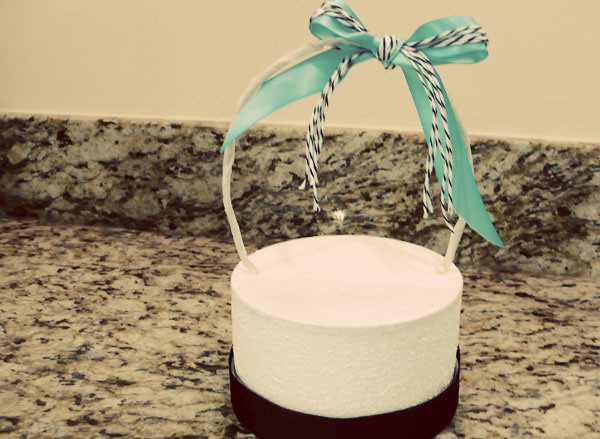
Exhibit A: My cake topper.
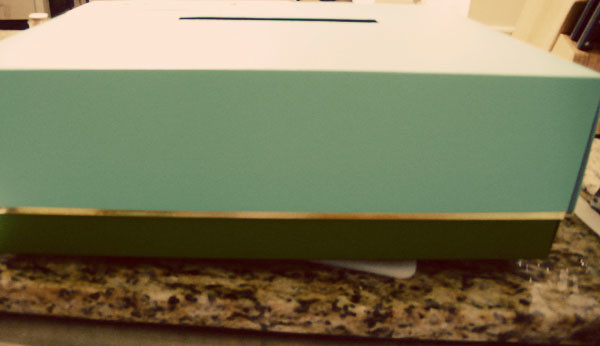
Exhibit B: The giftbox. Confession: semi-DIY. I asked a salesgirl at the Kate Spade store if I could have a large gift box and she obliged.
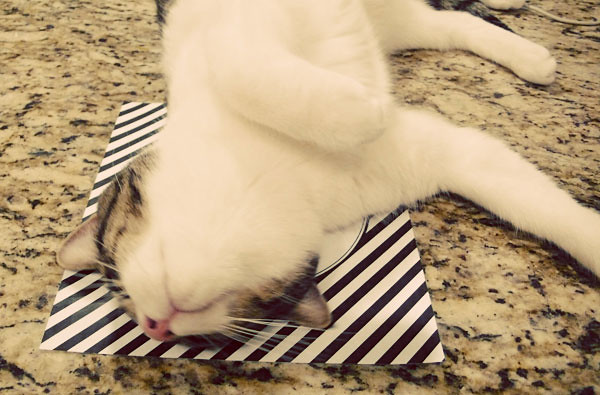
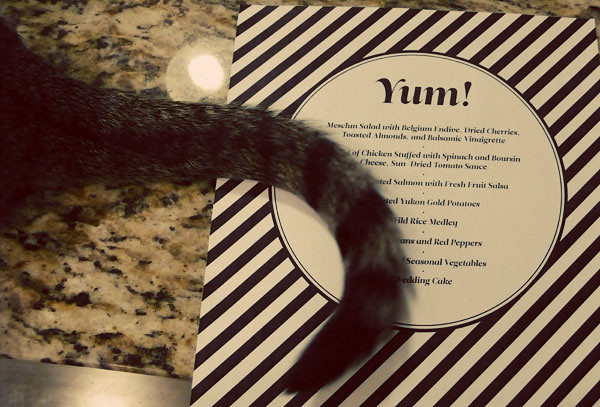
Exhibit C: The menus. They are not kitty-proof.
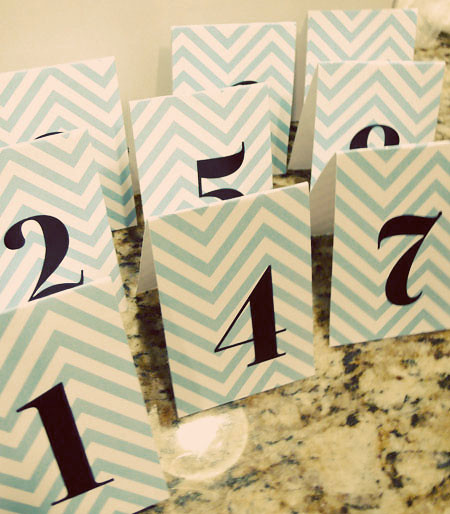
Exhibit D: Table numbers.
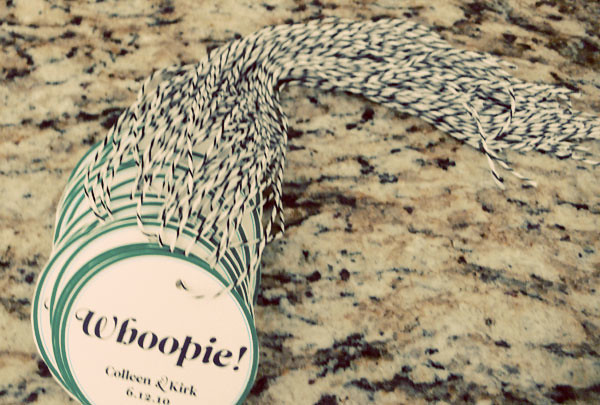
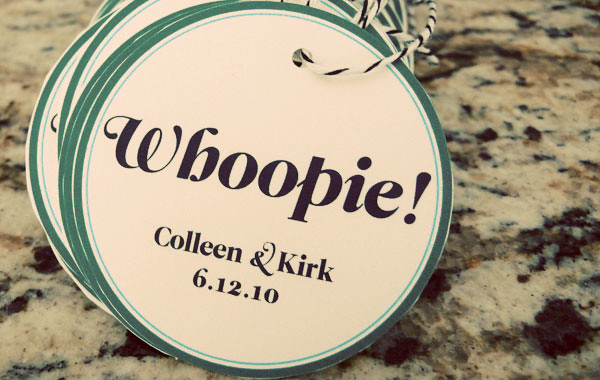
Exhibit E: Tags for the whoopie pie favors.
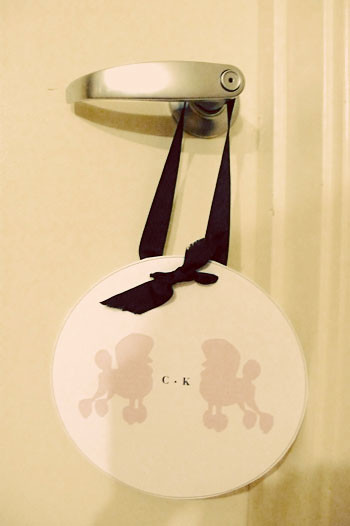
Exhibit F: Door tags for the the ceremony and the reception entrances. The IMU is large and confusing. The poodles are a long story.
So that's what I've been up to. How do you cope with deadlines?
Showing posts with label DIY. Show all posts
Saturday, May 29, 2010
Saturday, May 22, 2010
get yer programs
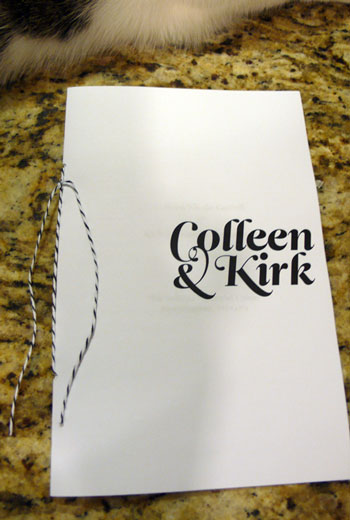
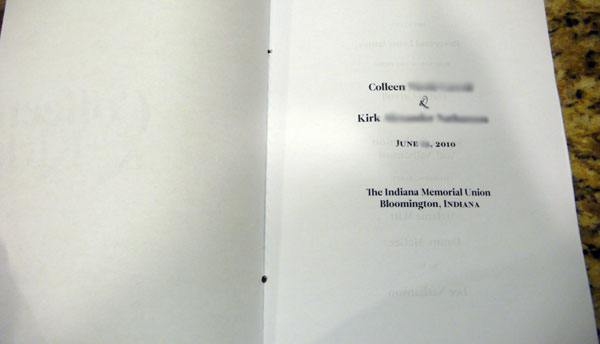
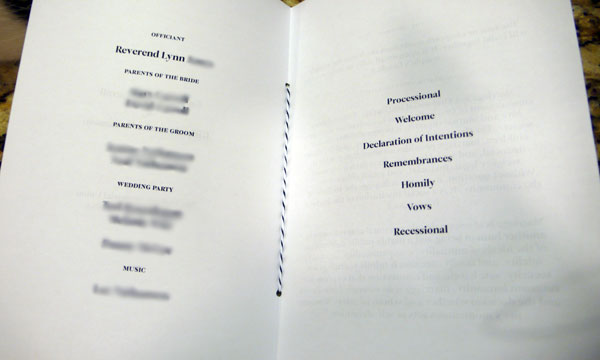
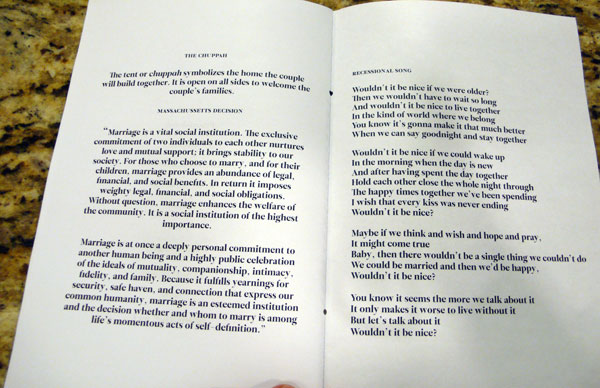
The fun/tedious part of planning is the evolution of ideas. At one point I thought I had a clear idea for a ceremony program and then I fell victim to second-guessing. The cover was changed, more information was added, and did I mention I only got these printed today? Oh yes that happened.
I had these printed on text weight paper, i.e. crap. I had big ideas about tying them with a black grosgrain ribbon, yadda yadda, but that felt silly when it was basically photo copier paper. Instead, I busted out the twine.
The lesson here is if you're smarter than me, you print the cover page with a light cardstock and then the interior pages with text weight paper. It gives the programs a lot more heft. Learn from my mistakes.
Did you reinvent the program wheel or stick to the basics?
Saturday, May 1, 2010
honoring my namesake
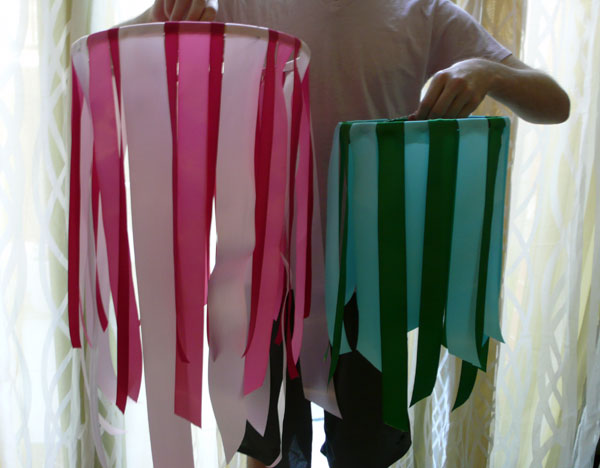
On Weddingbee I'm known as Ribbons, so I figured I should perhaps do a ribbon project.
Kirk and I decided to do a sweetheart table, so I wanted to hang something above our table, to denote it and add a little bit of interest to our room.
I liked the big tissue balls from a past MSW issue, but I wanted to do something different. I didn't document the whole process because I'm bad, but I bought the following materials:


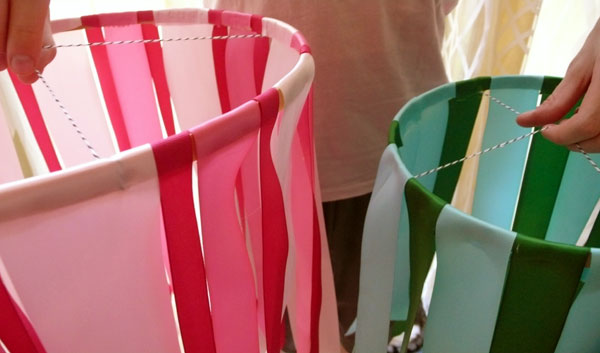
The idea is they'll hang at different heights and the last one will be solid light pink. It was really easy and fast, probably one of the most satisfying DIY projects I've done yet.
Do you have a favorite DIY project?
Kirk and I decided to do a sweetheart table, so I wanted to hang something above our table, to denote it and add a little bit of interest to our room.
I liked the big tissue balls from a past MSW issue, but I wanted to do something different. I didn't document the whole process because I'm bad, but I bought the following materials:
- 20 yards of ribbons in various colors, plus a "mega-roll" of low quality wide ribbon from Michael's
- 3 embroidery hoops
- twine


The idea is they'll hang at different heights and the last one will be solid light pink. It was really easy and fast, probably one of the most satisfying DIY projects I've done yet.
Do you have a favorite DIY project?
Friday, April 2, 2010
press the button: the other half
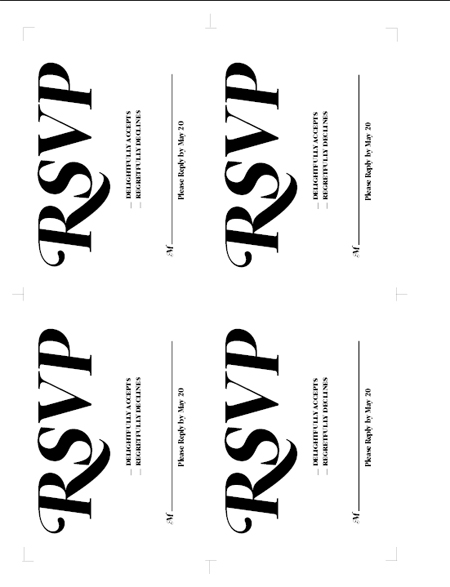
I am in the thick of making my invitations. I have the letterpress invites. I printed the envelopes. So it was time to make the rest of the suite: the hotel card and the reply card.
I printed the secondary pieces at home to save money. I used the same color of Crane paper as the letterpress invites to maintain consistency. So I printed all of these pieces out, multiple "cards" to a sheet of letter-sized paper.
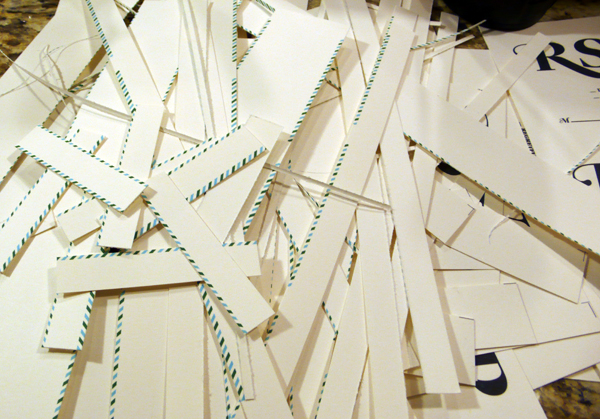
Then the cutting began. Let's just say I didn't enjoy this part.
This took me several hours. Several tedious, annoying, agonizing, soul-crushing hours. I prefer not to think about it.
What lengths have you gone to in the name of DIY?
I printed the secondary pieces at home to save money. I used the same color of Crane paper as the letterpress invites to maintain consistency. So I printed all of these pieces out, multiple "cards" to a sheet of letter-sized paper.
Then the cutting began. Let's just say I didn't enjoy this part.
This took me several hours. Several tedious, annoying, agonizing, soul-crushing hours. I prefer not to think about it.
What lengths have you gone to in the name of DIY?
Monday, March 22, 2010
press the button: the highs and lows of square envelopes
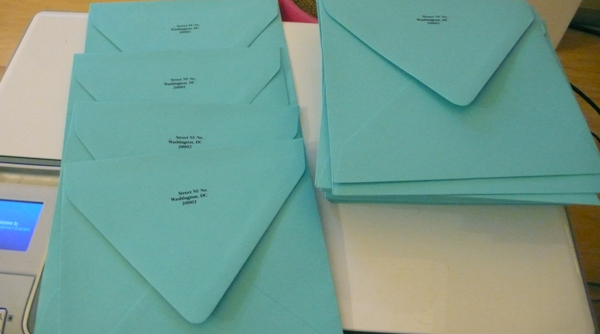
When I decided over a year ago that I wanted square invitations, I had no idea what I was getting myself into. I didn't know they'd cost more to mail and I sure as hell didn't know I would battle my printer for hours trying to print addresses onto them.
Let's backtrack, though. I've held hand-written envelopes in high esteem ever since I started wedding planning. But very recently, the reality of bad handwriting being anywhere near my lovely invitations started gnawing at me. I even tried using a nib pen to somehow dress my handwriting up, to no avail. I checked various etiquette sources and the preference for hand-written seems to stem from the amount of time and care it takes to write them. Well, that's easy to solve:
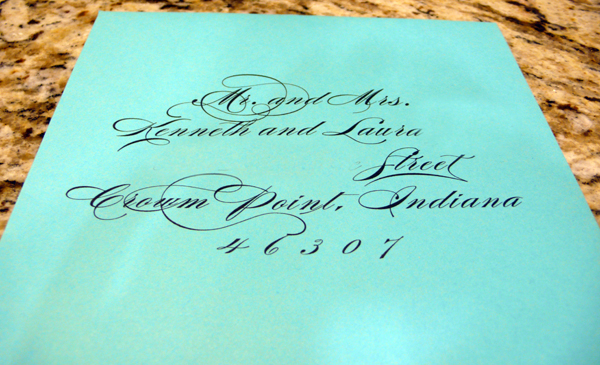
For the addresses I chose Burgues Script, for its calligraphic properties. It has swooshes and curls and all manners of flourishes -- ideal for faking my way to a pretty envelope. Because I know no ideal way to do this, I created individual documents for each address, setting the page size to 6.5" x 6.5", the size of my square envelopes. I fed one of my test envelopes into the tray, hit Print, and then... nothing.
"Paper Mismatch, Press Okay to Cancel."
I went to the Print Setup and tried to set the paper size to my size, but it wouldn't allow custom sizes! Oh the humanity. I could choose A6, a standard size I shirked -- why, why, why did I do that? For hours, I sat there, trying to come up with novel ways to trick my computer into printing my square envelope. Finally I decided it was InDesign's fault and typed an address in a Word document. Print.
A printed envelope came out, albeit printed on the wrong end. I examined the settings, needing to know what foul Microsoft magic made it print. It was set on Letter. I was an over-complicating idiot the whole time.
The moral of the story is: if you're using square envelopes, use the Letter size setting!
So for the next hour I sat on the floor feeding the envelopes into the printer while Kirk hit Control P. The result was glorious:
I already have an edit to make, which is this: I spelled "Crown Point" wrong on 12 invitations. The above picture illuminated this fact to me.So the real moral of the story is: order way more envelopes than you actually need. Sheesh.
Have you had any epic struggles with technology?

- I'm hand-lining the envelopes
- My address font requires choosing from a variety of glyphs for each letter, which is time-consuming
- I designed the whole freaking suite
- I'm hand-feeding the envelopes into the printer, one by one by one
- I'm printing part of the suite at home on an inkjet, which is a form of torture
For the addresses I chose Burgues Script, for its calligraphic properties. It has swooshes and curls and all manners of flourishes -- ideal for faking my way to a pretty envelope. Because I know no ideal way to do this, I created individual documents for each address, setting the page size to 6.5" x 6.5", the size of my square envelopes. I fed one of my test envelopes into the tray, hit Print, and then... nothing.
"Paper Mismatch, Press Okay to Cancel."
I went to the Print Setup and tried to set the paper size to my size, but it wouldn't allow custom sizes! Oh the humanity. I could choose A6, a standard size I shirked -- why, why, why did I do that? For hours, I sat there, trying to come up with novel ways to trick my computer into printing my square envelope. Finally I decided it was InDesign's fault and typed an address in a Word document. Print.
A printed envelope came out, albeit printed on the wrong end. I examined the settings, needing to know what foul Microsoft magic made it print. It was set on Letter. I was an over-complicating idiot the whole time.
The moral of the story is: if you're using square envelopes, use the Letter size setting!
So for the next hour I sat on the floor feeding the envelopes into the printer while Kirk hit Control P. The result was glorious:
I already have an edit to make, which is this: I spelled "Crown Point" wrong on 12 invitations. The above picture illuminated this fact to me.So the real moral of the story is: order way more envelopes than you actually need. Sheesh.
Have you had any epic struggles with technology?
Wednesday, March 17, 2010
flower balls
Back in January, I made some fabric flowers. I won't post a full tutorial: I used one found on OnceWed and it does a nice job of explaining the super easy process!
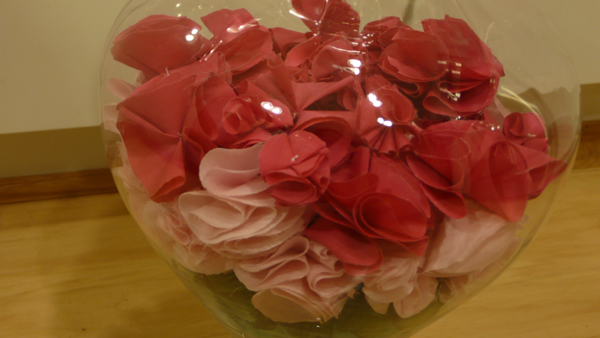
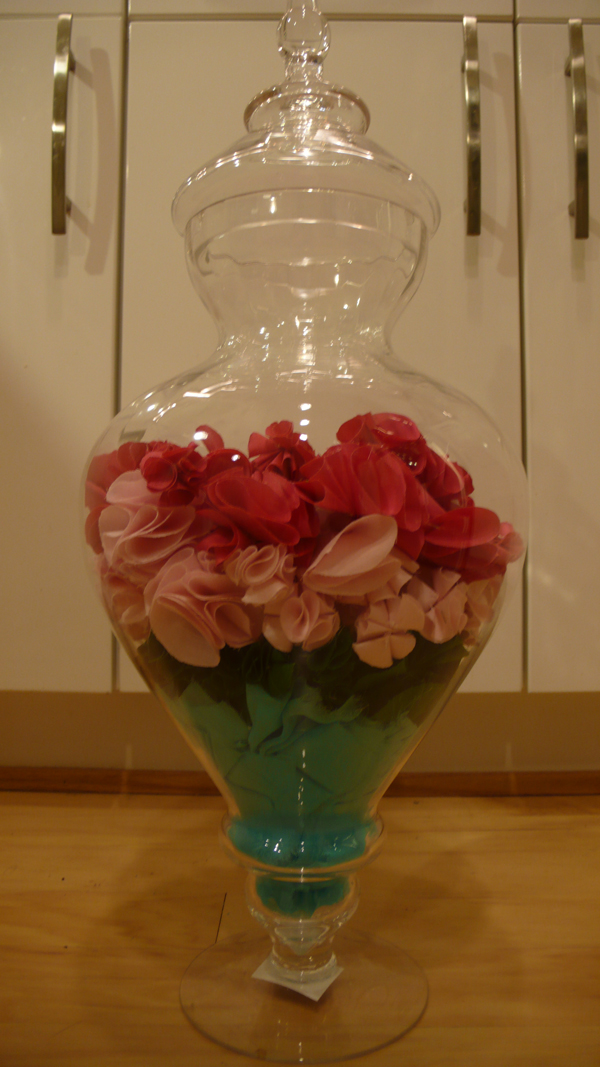
For each color, I bought a half yard of cotton fabric, plus a half yard of chiffon because I was in a daring mood. This produced 110 flowers. I also varied the size by using both the spool, suggested by the tutorial, and the bottom of a glass. You can easily make bigger ones than that too. For the chiffon, which turns out to be evil, I had to cut large squares because I could not trace circles onto the fabric.
It is definitely time consuming, so I recommend using an assembly line approach. I enlisted Kirk and we spread the project out over several days, doing one color each day. I'd say it took over two hours to cut and sew a half yard, with both of us working simultaneously. Kirk took a bit of a shortcut and folded the fabric twice when he was tracing circles, producing four circles at a time instead of two. But seriously, it's so mindless. You'll become an expert at threading a needle and tying knots in no time -- because that's the most challenging part of this project.
If you have a ton of patience and perhaps an entire TV series to watch, these are great. I love that it's a way to completely incorporate the color scheme and a little girly. Now, how do I use these in my wedding? At first I wanted to do the garland thing, but I wasn't sure where to hang them without being forced to make even more flowers -- like the railing at the reception hall would need way more flowers. I'm ambitious but not THAT ambitious.
Then recently I had a duh moment. I have a giant candy jar that's too big for candy and a bunch of fabric flowers. I'm not yet convinced it looks good, but maybe it'll grow on me.
The entire cost was about $30 for a total of 2.5 yards of fabric. I didn't buy sale fabrics, so you could certainly cut costs there. I've ended up with over 100 flowers though!
Did you embark on a DIY journey with no clear use or application? How did you end up using your creation?
For each color, I bought a half yard of cotton fabric, plus a half yard of chiffon because I was in a daring mood. This produced 110 flowers. I also varied the size by using both the spool, suggested by the tutorial, and the bottom of a glass. You can easily make bigger ones than that too. For the chiffon, which turns out to be evil, I had to cut large squares because I could not trace circles onto the fabric.
It is definitely time consuming, so I recommend using an assembly line approach. I enlisted Kirk and we spread the project out over several days, doing one color each day. I'd say it took over two hours to cut and sew a half yard, with both of us working simultaneously. Kirk took a bit of a shortcut and folded the fabric twice when he was tracing circles, producing four circles at a time instead of two. But seriously, it's so mindless. You'll become an expert at threading a needle and tying knots in no time -- because that's the most challenging part of this project.
If you have a ton of patience and perhaps an entire TV series to watch, these are great. I love that it's a way to completely incorporate the color scheme and a little girly. Now, how do I use these in my wedding? At first I wanted to do the garland thing, but I wasn't sure where to hang them without being forced to make even more flowers -- like the railing at the reception hall would need way more flowers. I'm ambitious but not THAT ambitious.
Then recently I had a duh moment. I have a giant candy jar that's too big for candy and a bunch of fabric flowers. I'm not yet convinced it looks good, but maybe it'll grow on me.
The entire cost was about $30 for a total of 2.5 yards of fabric. I didn't buy sale fabrics, so you could certainly cut costs there. I've ended up with over 100 flowers though!
Did you embark on a DIY journey with no clear use or application? How did you end up using your creation?
Friday, January 29, 2010
"i ordered twine."
Once in a while, my fiance will go through our Mint.com account to clean it up and make sure everything is in the right category. Sometimes it tells us we spent $15 on rent and $6000 on restaurants, so things need to get re-organized!
Today he was doing just that and asking about uncategorized charges. He was just listing things off when he asked about a paypal charge for $18. This was my response:
"I ordered twine."
Indeed, I had ordered twine. $15 twine. He immediately started laughing at me and then quickly labeled it as "wedding." I felt pretty embarrassed, since it was twine, but it's actually exciting stuff!
I'm planning on using it to tie together our invitations, but it'll probably make an appearance on the programs and perhaps in my other DIY projects. I ordered it here.
Have any of your wedding purchases embarrassed you?
Today he was doing just that and asking about uncategorized charges. He was just listing things off when he asked about a paypal charge for $18. This was my response:
"I ordered twine."
Indeed, I had ordered twine. $15 twine. He immediately started laughing at me and then quickly labeled it as "wedding." I felt pretty embarrassed, since it was twine, but it's actually exciting stuff!
I'm planning on using it to tie together our invitations, but it'll probably make an appearance on the programs and perhaps in my other DIY projects. I ordered it here.
Have any of your wedding purchases embarrassed you?
Tuesday, January 5, 2010
make-up part two
Inspired by this post by Lauren of i love you much, I decided to confront my last diy make-up trial. While it wasn't the most dreadful thing ever, it also wasn't yummy.
So armed with a few new products, I've made progress. Here's how I started.
I was already in my after work glitter sweats, sorry. Note my strange blond-ish eyebrows. Here's how I cleaned up.
Better, yes?
Here's what I added to my original list.
So armed with a few new products, I've made progress. Here's how I started.
I was already in my after work glitter sweats, sorry. Note my strange blond-ish eyebrows. Here's how I cleaned up.
Better, yes?
Here's what I added to my original list.
- Stila Illuminating Liquid Foundation in 10 watt. It contains no SPF and adds a slight glimmer, perfect for a dewy finish. $38
- Benefit Posie Tint. I layered this under a bright pink blush that's no longer available from Hard Candy. $28
- Sephora Nano Lip Liner in Funky Fuchsia. $5
- Benefit Badgal Liner. $20
Saturday, January 2, 2010
cake topper part 1
So I've been working on a cake topper, inspired by the following:
Then using a nail and hammer, I made two small holes for the arch.
I did attempt to cover the base with fabric; it didn't work out, so I made a change of plans. But here are the original materials.
- Small cardboard craft box. Found at craft stores.
- Floral wire
- White floral tape
- Wire cutters
- Embroidery floss in different colors
- Charms of some sort
- Acrylic paint
- Brush/sponge
- Hammer and nail
- German glass glitter
- Sealer spray
- Ribbon
I twisted together three pieces of floral wire and wrapped it around the box to create the arch shape.
I tested the arch and made adjustments. Next, I painted the base with three coats of white paint. On top of a Bebe catalog. That's definitely a requirement for this project.
After that, here's where it started to go a bit wrong. I forgot to buy glue for the glitter, so I googled around and found that I could apply the glitter directly to the paint. Well, I got silly and thought that meant I could mix the glitter in the paint..
I don't hate what happened, but it's not exactly glittery. More to come.
preview of balls
My flower balls.
I have a few more colors to go, but this is the beginning of my fabric flower garlands. Starting to get excited..
Thursday, December 3, 2009
myth of diy
I want to do a little economics lesson. I was an English major, sure, but I've always been fascinated by economics, particularly in games like World of Warcraft. They're fun little microcosms of flawed economies. (Google "WoW economics" and delight in the nerd-strosity). DIY is also a pretty flawed economic argument.
Often when bloggers talk about DIY, saving money is the subtext, if not the supporting argument. But I can refute this immediately and that's because of economies of scale and opportunity cost. Sure, you could make 10 tissue poms in 5 hours on a Saturday. And yes, your materials may only cost $15. But you just spent 5 hours making them, for which there is an opportunity cost. So unless you consider yourself slave labor, you have to pay yourself for your time. At $7/hr, you just spent $50 on tissue pom construction. How much does a set of 10 poms cost on etsy? $30 (she has a sale - by 7, get 3 free!)
How is the etsy set so much cheaper? Well that crafter probably has a little craft sweat shop going, or at least an assembly line process. Even if she does it by herself, she can purchase in bulk and is faster at making them than you.
The point of all of this is not to discourage DIY; I have a few projects I'm working on/planning. The point is, it's almost never cheaper and you shouldn't feel pressured to do it unless you actually enjoy crafting. At first I thought I should be doing this gocco thing - but I realized I had no interest in it, it was just THE DIY thing to do. I'm doing projects I really want to do and know I'd be good at.
DIY the things you really want to make yourself. Don't feel bad about purchasing pre-made items. Don't start an apiary so you can have honey favors. Remember e-v-e-r-y-t-h-i-n-g has an opportunity cost.
Often when bloggers talk about DIY, saving money is the subtext, if not the supporting argument. But I can refute this immediately and that's because of economies of scale and opportunity cost. Sure, you could make 10 tissue poms in 5 hours on a Saturday. And yes, your materials may only cost $15. But you just spent 5 hours making them, for which there is an opportunity cost. So unless you consider yourself slave labor, you have to pay yourself for your time. At $7/hr, you just spent $50 on tissue pom construction. How much does a set of 10 poms cost on etsy? $30 (she has a sale - by 7, get 3 free!)
How is the etsy set so much cheaper? Well that crafter probably has a little craft sweat shop going, or at least an assembly line process. Even if she does it by herself, she can purchase in bulk and is faster at making them than you.
The point of all of this is not to discourage DIY; I have a few projects I'm working on/planning. The point is, it's almost never cheaper and you shouldn't feel pressured to do it unless you actually enjoy crafting. At first I thought I should be doing this gocco thing - but I realized I had no interest in it, it was just THE DIY thing to do. I'm doing projects I really want to do and know I'd be good at.
DIY the things you really want to make yourself. Don't feel bad about purchasing pre-made items. Don't start an apiary so you can have honey favors. Remember e-v-e-r-y-t-h-i-n-g has an opportunity cost.
Sunday, November 29, 2009
a few words about fonts
I wanted to share a little bit about my program design because I love it lots and it only took a few minutes. The critical part for all of my paper products is the font.
I chose Leitura Display, a professional font set. For $50 I got three full fonts (including glyphs) and it makes all the difference in the world. Free fonts are awesome for novelty usage, like signs or labels, but become less than optimal while designing a full suite. For instance, a free font I tried had no apostrophe. That's trouble.
So I bought Leitura knowing I'd have some options - a solid serif and a cool novelty set.
I chose Leitura Display, a professional font set. For $50 I got three full fonts (including glyphs) and it makes all the difference in the world. Free fonts are awesome for novelty usage, like signs or labels, but become less than optimal while designing a full suite. For instance, a free font I tried had no apostrophe. That's trouble.
So I bought Leitura knowing I'd have some options - a solid serif and a cool novelty set.
I'm sticking with my one font family for consistency, but you can successfully mix two fonts without making your print products look like a jumbled mess. I'm always in favor of a sans serif and serif pairing and indeed my favorite one ever is Century Gothic and Garamond.
They're both extremely well-designed fonts standard on most computers. I highly encourage you using them if you're designing any of your paper products at home and can't invest in a professional font.
the ceremony program
I've drafted our ceremony program - perhaps you'd care for a peek.
I have a slight advantage here. I designed the English department programs when I graduated from college, so I have plenty of experience grappling with the intricacies of creating programs from letter-sized paper.
Okay, they're not really intricacies. But I have a pretty strong aesthetic, regardless. And I had really really great inspiration to rip off:
I'm also lucky because my officiant recently sent me an outline for the wedding. We discussed some changes, but I have at least a general idea. With that, I was able to create the interior pages too.
Here you can see I have the second page with our names, and then the inside with the major players and the order of events. White space is just my thing. Also, just noticed the date is wrong. 2009? Heck yes I'm a time traveler..
I won't be printing these for a few months still, but I do have in mind my binding method.
This tutorial was on 100 Layer Cake recently. Threading 50 programs does not seem so taxing and it's absolutely an adorable touch. I won't be using letterpressed paper, but I will be springing for Crane paper.
Designing these things ahead of time is critical for me. I have huge procrastination problems, so the more steps I can complete now, the better. How do you deal with a mounting pile of DIY ideas? Start now or later?
Thursday, October 22, 2009
save the date
I'm already experiencing some bouts of insomnia over this wedding, but luckily, it makes me pretty productive. Last night while Mr. D slumbered, I drafted our save the dates in Illustrator. I'm by no means talented with this program, but I do know how to trace with the pen. Here's the first attempt:
I better explain what exactly is going on here.
I wanted to do the ever-popular silhouettes of us, but decided I wanted to up the quirk factor. People that know me, know that I love poodles, big standard poodles. My parents have a real one; I fake it with a ceramic one. Mr. D, on the other hand, is obsessed with cars, particularly foreign-made insanely expensive ones.
So I decided to make silhouettes of the things we love: poodles and Aston Martins. And in terms of first drafts, I quite like this.
How are you saving the date?
Friday, October 9, 2009
too adorable for words
100 layer cake posted this fabulous vintage wallpaper project. Definitely worth looking at, if only to feel woefully inadequate as a crafter!
Also, here's a question I've always wondered about envelope liners: how do you insure someone sees it, i.e. opens the flap, doesn't cut it with a letter opener - the way one typically opens a letter? This has been stumping me since I saw my very first envelope liner tutorial..
Tuesday, October 6, 2009
faux make-up trial
I'm doing my own make-up for the wedding and since I can NOT wait to buy the tools, I've started playing with the look. Yes, the wedding is June. No, I don't really care. Because I'm not getting married in this area and because I love any excuse to drop way too much money at Sephora, this decision was simple.
Here's the point where I'd show you my inspiration look. I have one, I swear, I just can't find it online.. But let's just say it's sort of like this. I want to look young - because I am!
Here are the main products I worked with:
I used a sample of Nars make-up primer and some Clinique foundation, plus some mineral powder from the Boots line at Target. After all that, here was the result:
Here's the point where I'd show you my inspiration look. I have one, I swear, I just can't find it online.. But let's just say it's sort of like this. I want to look young - because I am!
Here are the main products I worked with:
I used a sample of Nars make-up primer and some Clinique foundation, plus some mineral powder from the Boots line at Target. After all that, here was the result:
Looking serious..
Not totally inspiring, not totally awful either. Now, one mistake was that I thought the highlighter could function as blush..um, not really. So next time I will use a peony-hued cream blush that I have and see if it perks things up. The lipstick is, surprisingly, not as shocking as it is in the tube. I really think the matte tempers the color, to the point where I may pick up a sheer gold lip gloss to layer on top.
Are you doing your own make-up and if so, do you have a major shopping list?
Subscribe to:
Posts (Atom)